Getting started
| Best place to start is by trying the examples that will let you feel the Automatiko in action before getting your hands dirty … just in case you haven’t tried them yet |
Here you can find all that is needed to get you started with Automatiko
Required software
Following are the required software before you can get started with Automatiko
-
Java (version 11 or higher)
-
Apache Maven (version 3.6.3 or higher)
In addition, following are good to have though they are not mandatory
-
Docker
-
GraalVM
-
Kubernetes like environment (MiniKube, OpenShift, K3s/K3d)
Required tooling
Automatiko takes advantage of BPMN at the core so it requires BPMN editor. To have well working modelling environment Automatiko delivers a customized version of Eclipse BPMN2 Modeller. Thus it requires Eclipse IDE to run this editor.
Get Eclipse from Eclipse IDE website
Once Eclipse is up and running install Automatiko BPMN modeller from following update site
Steps to install Automatiko BPMN modeler
-
Download
https://github.com/automatiko-io/bpmn2-modeler/releases/download/2.0.0/org.eclipse.bpmn2.modeler.updatesite-2.0.0.zipinto local folder -
Select
Helpfrom the menu -
Select
Install new software -
Enter location of the downloaded zip file into
Work withtext field and press enter
It will display found components from the update site and should look like below
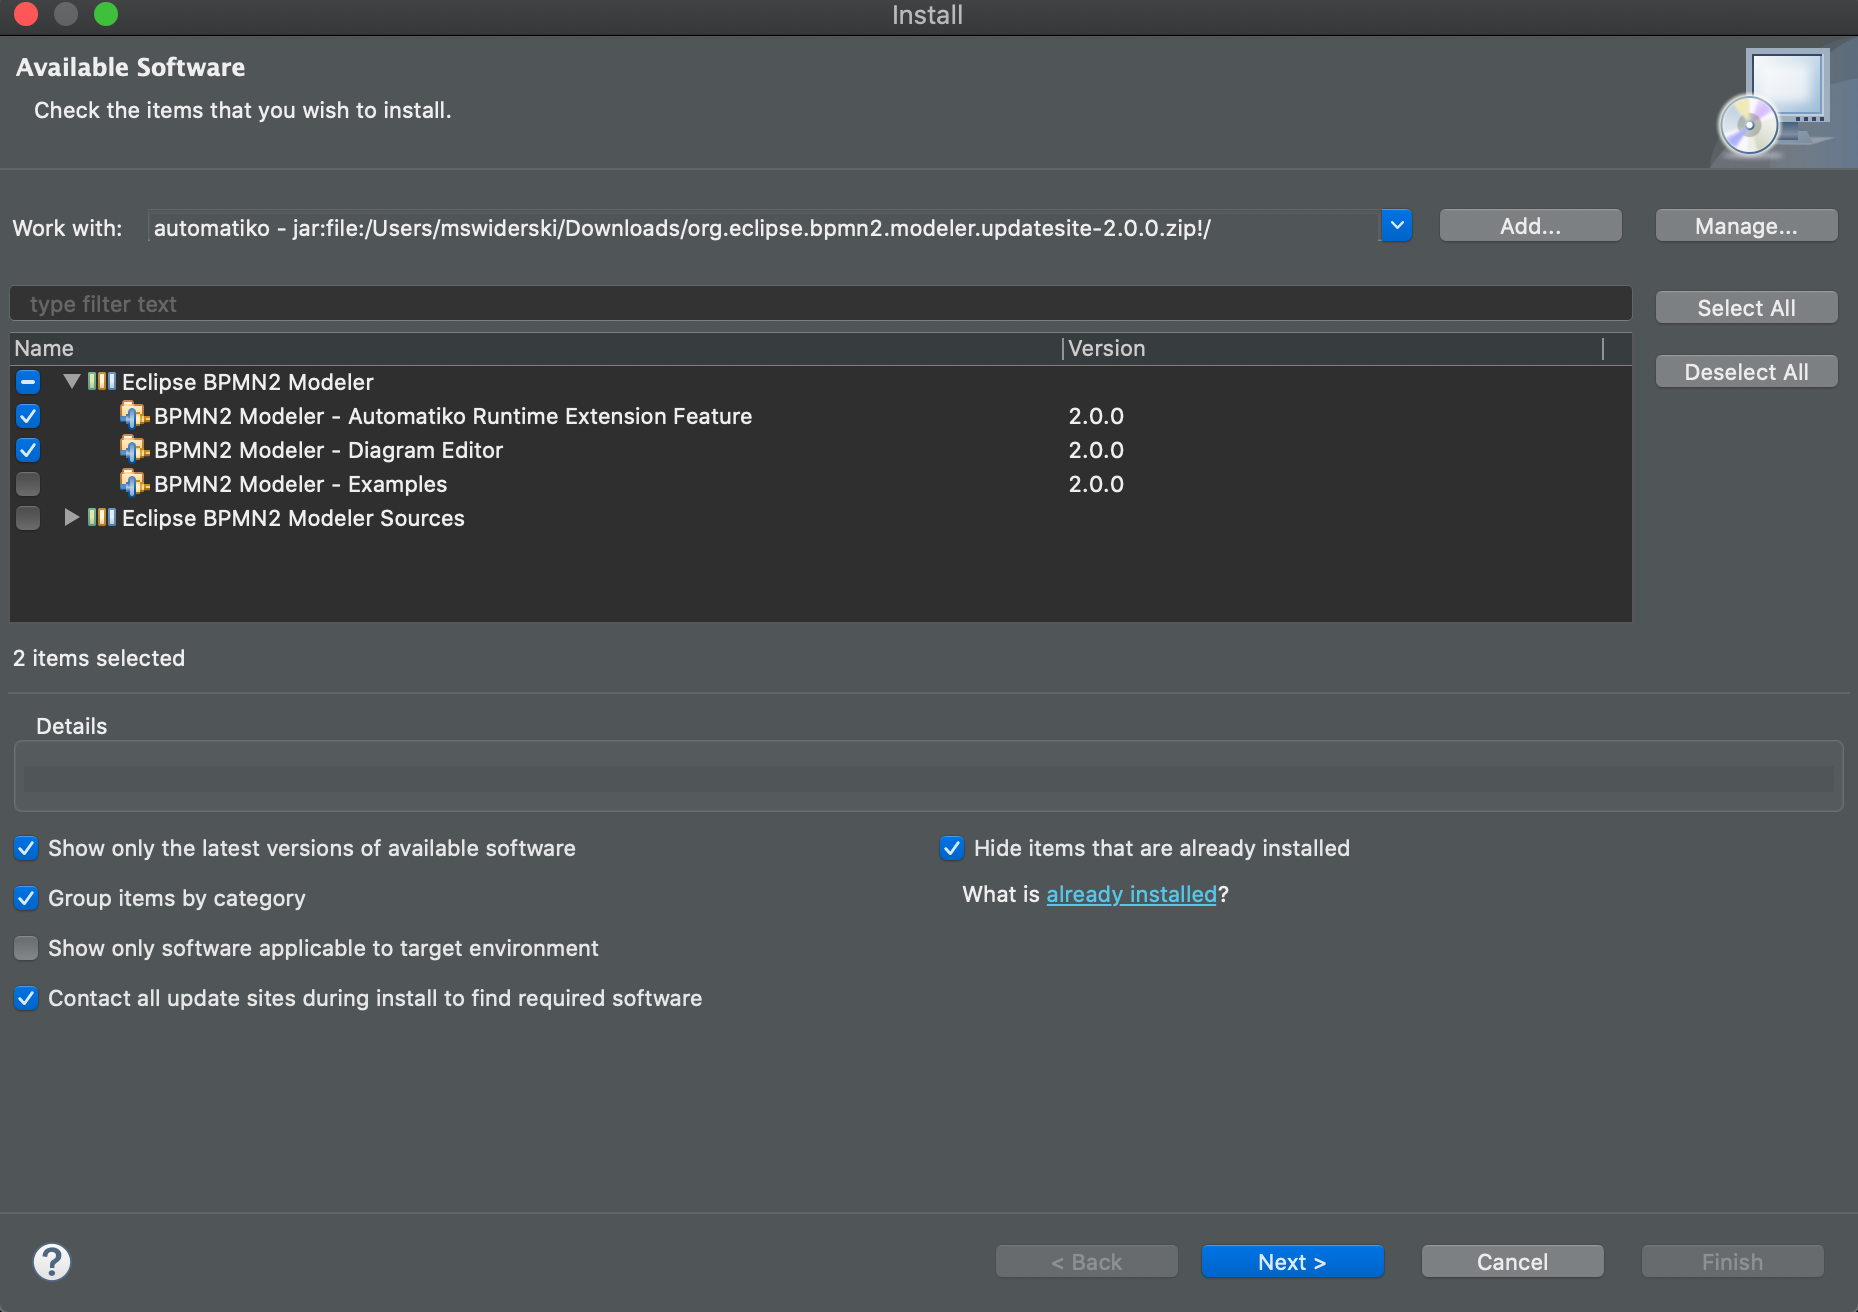
Follow wizard steps to complete the installation and restart Eclipse when asked.
Create project
In Eclipse create new Maven Project that allows to base it on archetype.
Automatiko comes with number of archetypes that allow to easily create project
with preconfigured set of dependencies needed for given use case
| Name | Description |
|---|---|
automatiko-archetype |
Generic project type that comes with basic setup |
automatiko-orchestration-archetype |
Tailored for service orchestration scenarios |
automatiko-event-stream-archetype |
Tailored project type for event stream use case backed by Apache Kafka |
automatiko-iot-archetype |
Tailored project type for IoT use case backed by MQTT |
automatiko-db-archetype |
Tailored project type for database record processing use case |
automatiko-batch-archetype |
Tailored project type for batch processing use case |
automatiko-function-archetype |
Tailored project type for workflow as a function use case |
automatiko-function-flow-archetype |
Tailored project type for function flow use case backed by KNative |
automatiko-operator-archetype |
Tailored project type for building Kubernetes Operators |
Select archetype that matches the best for the type of automation you’re going to work with. Fill in the details of the wizard and the project will be created.
Alternatively use following command to generate project based on automatiko-orchestration-archetype
mvn archetype:generate                                      \
  -DarchetypeGroupId=io.automatiko.archetypes               \
  -DarchetypeArtifactId=automatiko-orchestration-archetype  \
  -DarchetypeVersion=LATEST                                 \
  -DgroupId=com.acme.workflows                              \
  -DartifactId=workfow-service
It is standard Maven folder structure so should be rather familiar to most people but to just highlight most important parts of it
-
pom.xml - configuration of the project that is
-
Maven coordinates (group artifact version)
-
Name and description
-
Dependencies
-
Profiles
-
-
src/main/javafolder where all java classes should be created -
src/main/resources-
folder where application configuration is located -
application.properties -
folder where all business assets such as workflow or decision files are to be created
-
-
src/test/javafolder where all test related java classes should be created -
src/test/resourcesfolder where all test related additional files should be created
Create workflow file
Create new workflow file by using Eclipse File menu option New and selecting
BPMN2 → Automatiko Process Diagram
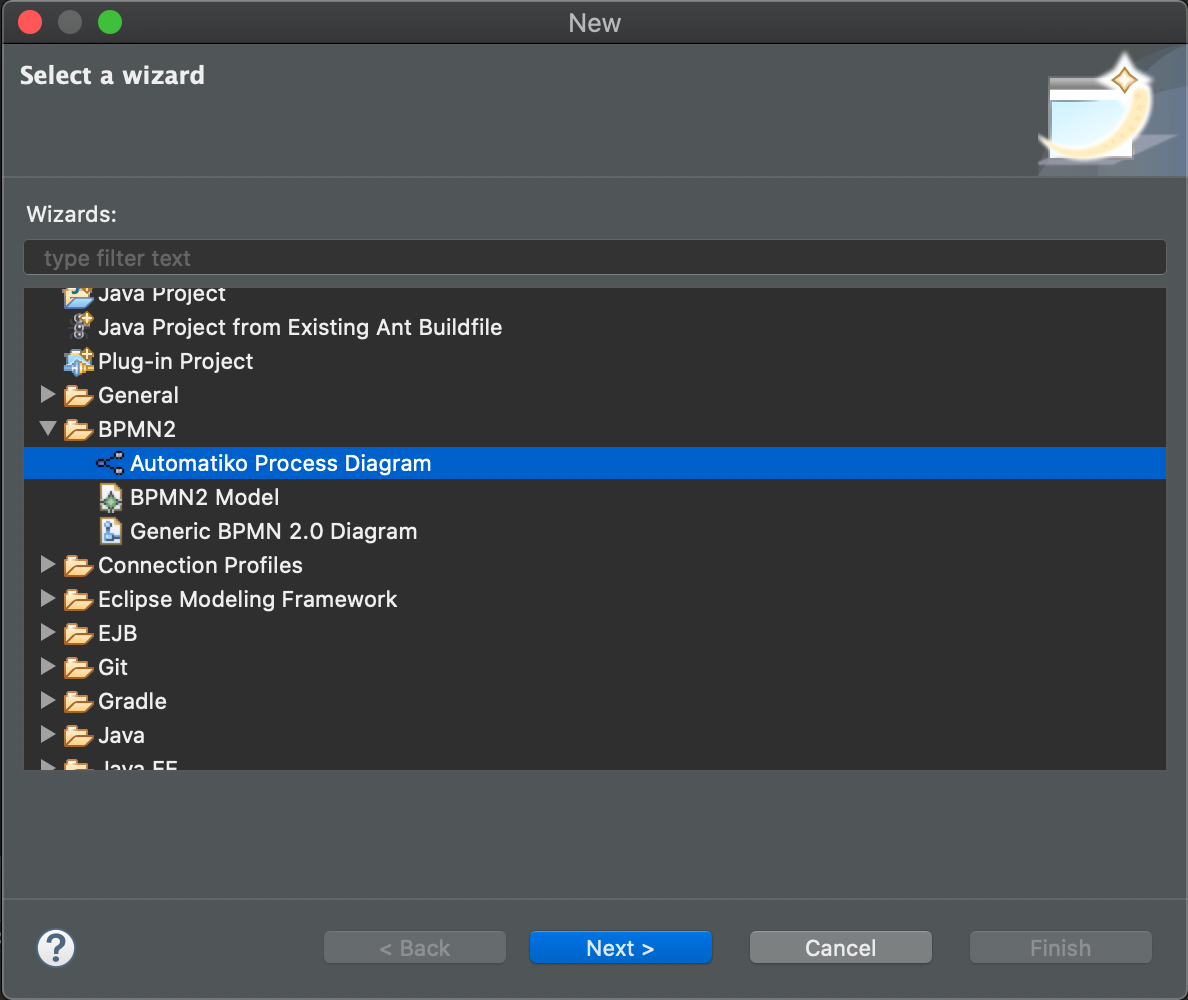
Next fill the details of your workflow

Once this is completed and editor with workflow will open, with just single start event placed on the canvas.

Based on the requirements start modeling the workflow with elements from the right hand side palette. There you will find different type of BPMN2 constructs such as
-
tasks (service, user)
-
events (timers, messages, compensation)
-
subprocesses (aka sub workflows)
-
data objects
Local execution mode
Once you’re ready (at least to get it running) with your workflow run a local execution mode (development mode) by issuing following command in the top level folder of your project
mvn clean quarkus:dev
This will launch (after sometime when executed for the first time…) a service that will have REST api available at http://localhost:8080/swagger-ui
At this point you can use swagger ui to try out your newly built service from the workflow.
In case there is no REST api generated for your workflow make sure that
the process type of the workflow is set to Public
|
While the service is running you can start modifying the workflow without the need to restart the service. In Local execution mode changes are reflected directly after saving file and issuing another request to the service.
| Live reload is still considered as experimental feature so please report issues in case you run into problems. |
Create test case for the workflow
It’s really important to make sure that the service build from workflow is working as expected and the best way to do that is by testing it.
Automatiko allows you to easily write tests against the service interface regardless if the entry point to the service is
-
REST/Http
-
Kafka Broker
-
MQTT broker
-
File polling
-
and more
All of them can be tested that will be part of the build to make sure only valid (tested) service will be eligible for deployment.
Testing mainly focuses on verifying the service interface and the most simple one would look like the below
@QuarkusTest (1)
public class VerificationTests {

    @Test
    public void testProcessNotVersioned() {
        // start new instance with below payload
        String addPayload = "{\"name\" : \"john\"}";(2)
        given()
          .contentType(ContentType.JSON)
          .accept(ContentType.JSON)
          .body(addPayload)
          .when()
              .post("/greetings")
          .then()
              //.log().body(true)
              .statusCode(200)
              .body("id", notNullValue(), "name", equalTo("john"), "message", equalTo("Hello john"), "lastName", nullValue());(3)
        // since this is straight through workflow it should directly complete
        given()
            .accept(ContentType.JSON)
        .when()
            .get("/greetings")
        .then().statusCode(200)
            .body("$.size()", is(0));(4)
    }
}| 1 | Declare on class level that this is a @QuarkusTest |
| 2 | Create JSON payload that will represent the input of workflow instance |
| 3 | Send HTTP POST request and verify the response body |
| 4 | Lastly send another HTTP request (GET) to see if there are any active instances |
This just illustrates how workflow testing looks like, more advanced test cases can be found
Build
Building the service depends on the type of output you’re interested in
Build executable jar
To build executable jar issue following command
mvn clean package
after build completes there will be {artifactId-version}-runner.jar
in the target directory. You can easily execute this service by
java -jar target/{artifactId-version}-runner.jar
Build native image
| To build native image a GraalVM is required. |
To build native image issue following command
mvn clean package -Pnative
| Native image compilation is heavy operation and resource hungry so don’t be surprised it takes time and the computer is "really" busy… |
after build completes there will be {artifactId-version}-runner
in the target directory. You can easily execute this service by
./target/{artifactId-version}-runner
Build container image
To build container image issue following command
mvn clean package -Pcontainer
after build completes there will be image created in local container registry. You can easily execute this service by
docker run -p 8080:8080 {username}/{artifactId}:{version}
replace the username, artifact and version with OS user, adrtifactId of your project and version of your project.
| Various configuration options can be specified which are based on Quarkus so have a look at Config Options |
Build container image with native executable
To build container image with native executable issue following command
mvn clean package -Pcontainer-native
after build completes there will be image created in local container registry. You can easily execute this service by
docker run -p 8080:8080 {username}/{artifactId}:{version}
replace the username, artifact and version with OS user, adrtifactId of your project and version of your project.
| Various configuration options can be specified which are based on Quarkus so have a look at Config Options |
Build container image for Kubernetes
To build container image issue following command
mvn clean package -Pkubernetes
after build completes there will image created in local container registry. Depending where is your Kubernetes environment there might be a need to push the image to external registry.
As part of the build there are Kubernetes descriptor files created to help
with deployment, they can be found in target/kubernetes directory
| Various configuration options can be specified which are based on Quarkus so have a look at Config Options |